


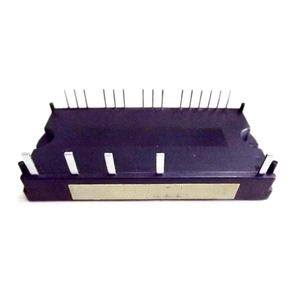
Thyristors Online | High-Quality Power Semiconductors

** Is Your Thyristor Alive? Get Your Multimeter to Figure out! **.
(How To Test A Thyristor Using Multimeter)
Ever had a circuit that just won’t behave? Maybe that thyristor inside is the nuisance. These little digital switches regulate power circulation, however like any type of part, they can fail. Great information? You most likely already own the best device to examine it: a trusty multimeter. Forget fancy gear in the meantime. Let’s see if your thyristor is still kicking.
First things first, security is crucial. Constantly, always ensure your circuit has no power. Disconnect it. Disconnect the thyristor totally. You don’t desire any kind of surprise zaps. Likewise, if the thyristor was lately managing high voltage, provide it a min. Occasionally capacitors hold a fee. Much better risk-free than sorry. Touch the leads with each other quickly to discharge anything prowling.
Currently, get your multimeter. Set it to the diode examination mode. You’ll know it by the little diode icon. This mode sends out a little examination current, excellent for our job. Identify your thyristor’s legs. Seek the markings: Anode (A), Cathode (K), and Gateway (G). If you can not see them, discover the datasheet online. Understanding which pin is which is critical.
Time for the first actual test: waking up eviction. Touch your multimeter’s red probe to eviction (G). Touch the black probe to the Cathode (K). You need to see a voltage decrease analysis on your multimeter display, usually between 0.5 and 1.5 volts. This tells you the gate junction is fine. It resembles the thyristor stating, “Yep, I listened to that!”.
Below comes the magic technique, the latching examination. Keep the black probe firmly on the Cathode (K). Quickly touch the red probe to the Gate (G) once more. You saw the voltage decline? Great. Currently, while maintaining the black probe on K, relocate the red probe far from the Gate and touch it to the Anode (A). If your thyristor is healthy and balanced, the multimeter needs to * still * reveal a voltage decline reading (like 0.7 to 1.5 volts), even though you took the red probe off eviction. That suggests the thyristor “locked” on. It remained performing after the gate signal quit. That’s precisely what an excellent thyristor ought to do.
However we’re refrained from doing yet. We need to examine the various other instructions. Reverse your probes. Put the black probe on the Anode (A). Put the red probe on the Cathode (K). Your multimeter must now reveal “OL” (Overload) or a very high reading, like “1.” This implies the thyristor is obstructing present in the reverse direction, just like a healthy and balanced diode should. That’s another pass.
(How To Test A Thyristor Using Multimeter)
So, what did we discover? A healthy thyristor reveals a gate voltage drop when you penetrate G to K. It latches on when you trigger eviction and then transfer to A. It blocks entirely when you probe reverse (A to K with black on A). If your thyristor passes all these get in touch with your multimeter, it’s most likely good to go. If it fails any type of one of them– possibly it will not latch, or it performs backwards, or eviction shows no decrease– then it’s probably time for a replacement. No demand for guesswork. Your multimeter provides you the responses.