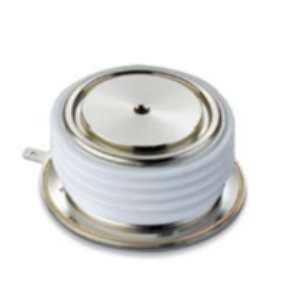
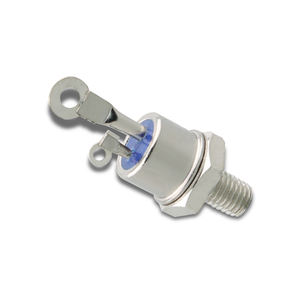
Thyristors Online | High-Quality Power Semiconductors

**Keeping Thyristors Chill: How to Master Heat Sink Integration**
(Cooling Solutions for Thyristors: Heat Sink Integration Tips)
Thyristors are the workhorses of power electronics. They handle heavy currents and high voltages. But like any hardworking component, they generate heat. Too much heat? Performance drops. Reliability suffers. Failures happen. Keeping thyristors cool isn’t optional—it’s survival. Let’s talk about heat sinks. These metal wonders pull heat away from thyristors. But slapping on any heat sink won’t cut it. You need smart integration. Here’s how to do it right.
Start with the basics. Heat sinks work by spreading heat into the air. The bigger the surface area, the better the cooling. Aluminum is common. It’s light and cheap. Copper is better at conducting heat but heavier and pricier. Choose based on your needs. Now, attaching the heat sink matters. A loose fit creates air gaps. Air is a terrible heat conductor. Thermal paste fills these gaps. Apply a thin, even layer. Too much paste acts like insulation. Too little leaves hotspots.
Next, think about placement. Thyristors often sit on circuit boards. Heat sinks need space to breathe. Crowding them blocks airflow. Vertical mounting helps. Heat rises. Align fins vertically to let hot air escape. If your setup uses fans, point airflow across the heat sink. No fans? Natural convection works but needs clearance. Leave at least an inch around the heat sink.
Size matters. A tiny heat sink can’t handle a high-power thyristor. A giant one wastes space and money. Check the thermal resistance rating. Lower numbers mean better cooling. Match this rating to your thyristor’s heat output. Datasheets list power dissipation. Use that data. For example, a 100W thyristor needs a heat sink rated for at least 100W.
Mounting pressure is tricky. Screw the heat sink too tight? You risk cracking the thyristor. Too loose? Poor contact. Use torque screws if possible. They stop at a set tightness. Springs under screw heads help evenly distribute pressure. Check the thyristor’s specs for max mounting force. Stay under that limit.
Don’t forget the environment. Dusty or humid areas clog heat sink fins. A clogged fin can’t dissipate heat. Add filters to fans. Clean heat sinks regularly. In humid places, use corrosion-resistant materials. Aluminum oxidizes but still works. Coatings like anodizing add protection.
Thermal cycling is another enemy. Devices heat up, cool down, repeat. Metal expands and contracts. Over time, this loosens mounts. Inspect heat sinks periodically. Reapply thermal paste if gaps form. Lock washers on screws prevent loosening.
Sometimes one heat sink isn’t enough. Stacking thyristors? Share a large heat sink. Insulating pads prevent electrical shorts. Use thermally conductive but electrically insulating materials. Mica sheets work. Thermal grease on both sides of the pad boosts performance.
Active cooling adds muscle. Heat sinks with built-in fans or liquid cooling tackle extreme loads. Liquid systems are complex but efficient. They pump coolant through tubes attached to the heat sink. Good for industrial setups. For most applications, fans plus heat sinks are enough.
Testing is key. After installing, monitor temperatures. Infrared thermometers spot hotspots. Thermal cameras show heat distribution. If temps stay within limits, you’ve nailed it. If not, tweak the heat sink size, airflow, or paste application.
(Cooling Solutions for Thyristors: Heat Sink Integration Tips)
Heat management keeps thyristors alive. Ignore it, and you’ll face meltdowns—literally. A well-integrated heat sink is cheap insurance. It saves money, prevents downtime, and extends device life. No rocket science here. Just physics, smart design, and a bit of elbow grease.